
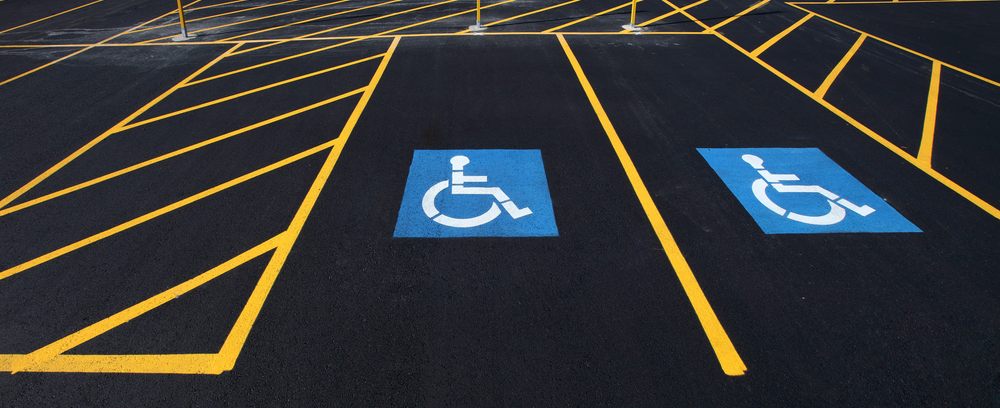
Parking lot striping plays an important role in parking lot safety. Clear, visible parking lines help organize vehicles and create a smoother parking experience.
Parking lot paint fades over time, so regular touch-ups are important. Repainting every two to three years is a general starting point for keeping lines fresh and bright, depending on their condition. If you notice an increase in parking lot accidents, it may be time to reassess the layout and repaint the markings.
Whether you’re refreshing existing lines or starting from scratch, this guide explains the equipment, preparation, and painting process involved in parking lot striping.
Parking Lot Striping Equipment and Supplies
Before planning and painting your parking lot, gather the following equipment and supplies:
-
Parking lot striper. A paint striping machine, also called a pavement striper, helps you paint clean, straight parking lines as you push it along the pavement. Most striping machines allow you to adjust the line width. Some machines work only with specific types of paint, so check that your striper is compatible with the water-based or solvent-based paint you plan to use.
-
Parking lot paint. Water-based and solvent-based paints each have advantages, and local environmental regulations may affect which products you can use. Choose paint specifically designed for pavement, and determine the colors and quantity you’ll need. Blue is commonly used for accessible parking markings, while yellow and white are widely used for general parking lot lines.
-
Measuring tape. Use measuring tape or other measuring tools to lay out accurately sized and spaced parking stalls.
-
Parking lot stencils. Depending on your layout, you may need stencils for letters, numbers, directional arrows, and accessible parking symbols.
-
Safety equipment. Wear appropriate footwear and use the protective equipment, including respiratory protection where required, specified by the paint manufacturer.
How to Prepare and Paint Parking Lot Lines
Start by cleaning the parking lot. Use a blower to remove loose debris, or sweep with a broom for smaller areas. Power wash the pavement to clean it thoroughly, and allow it to dry before painting.
Repair pavement cracks with a suitable asphalt repair material before beginning the painting process.
Next, measure and mark your parking spaces using measuring tape and pavement marking tape. Choose marking tape designed for pavement so it adheres properly.
Decide whether your layout will use straight parking stalls at 90 degrees or angled stalls at 45–60 degrees. A common standard parking space size is 9 feet by 18 feet. Aisle widths of 16 feet for some angled layouts or 22 feet for some straight layouts are examples, not universal minimums. Confirm the dimensions required for your parking angle, traffic direction, and local jurisdiction before marking the layout.
Once the pavement is clean, dry, and prepared, begin painting with your parking lot striper. Move the machine steadily along the marked layout, applying paint according to the equipment instructions. Two coats may be needed; follow the paint manufacturer’s recommendations for coverage and recoating.
Additional Parking Lot Striping Tips
- Consider a compatible grit additive to improve traction on painted lines.
- Use reflective pavement markings to improve nighttime visibility.
- Review ADA and local requirements when planning and painting your parking lot.
Painting a parking lot takes planning and care. If you’re unsure about your striping skills, consider a paint striping course or hiring an experienced professional. To find supplies for your project, browse our parking lot striping equipment and paint.