1. Clean area completely free of loose particles and dust.
2. Preheat the area. All moisture must be removed. On asphalt pavements, sufficient preheating is indicated by asphalt cement bleeding to the surface. On portland cement pavements, heat the area slowly, moving the flame over an area larger than the intended application area. This slow, gradual heating will reduce the thermal gradient across the area and thereby reduce the risk of spalling the surface.
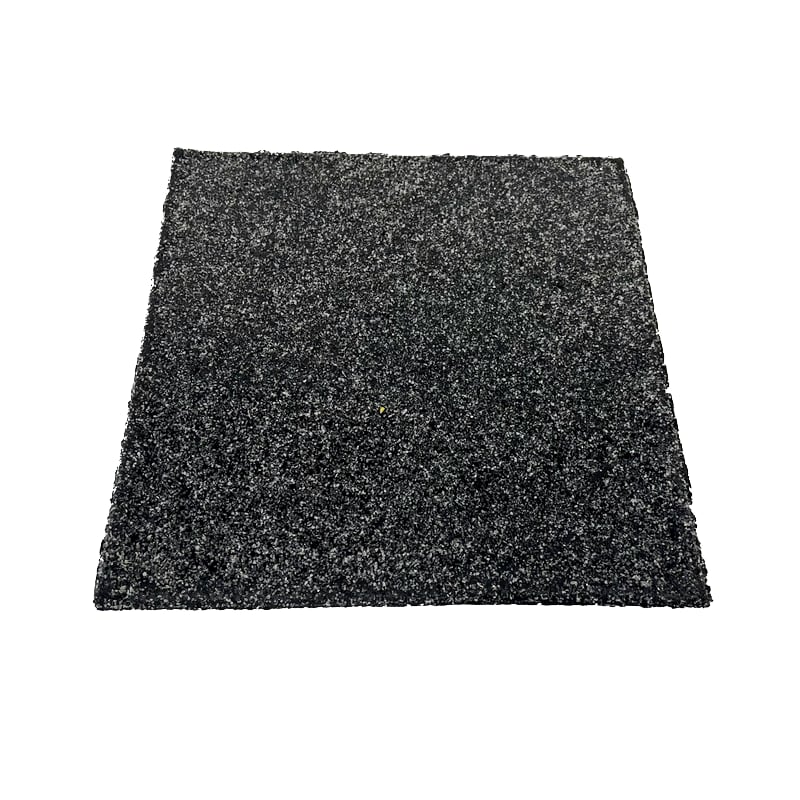
3. Position the epoxy pad on the application area.
4. Heat the epoxy pad with the torch until completely melted. The material may ignite during heating, but will self extinguish when the flame from the torch is removed. The adhesive pad must be completly molten before positioning the object to be affixed to the pavement surface. Continue to heat. The epoxy pad should appear as a puddle of molten adhesive.
5. Position the object on the epoxy pad immediately after the torch is moved away from the material. make sure that there is at least 1/4 inch of epoxy pad surrounding all sides of the object. When positioning the object on the epoxy pad make sure that you out one end of the object down first and then the other in order for entrapped air to escape.
6. Apply downward pressure to the object to ensure embedding and bonding but make sure the object is not embedded so deeply as to rest on the road surface. It is important that there is a cushion of epoxy between the road and the object.